Insiteful can help you track form entries and more from virtually any web form in just a few clicks. Apart from helping you capture 100% of leads that fill out your forms, our plug-n-play solution also enables you to increase your conversion rate with power-ups (i.e. save & continue later), auto follow-up, and smart insights (i.e. confused / abandoned form fields).
You can track any forms created with Contact Form 7 forms with the usual method for tracking web forms with Insiteful (also included below, for your convenience). However, before you get started, please make sure to read about the important preliminary step in Contact Form 7 to ensure you’re able to track your web forms accurately Insiteful — nothing complicated, just one additional click!
Want to save lead data from users that start to fill out your WordPress forms but don’t finish? It doesn’t have to be tedious. There’s nothing more disheartening than missing out on a potential opportunity due to form abandonment or website drop-offs; Insiteful can help you seal the leaks in your lead forms!
Before you get started with the how-to guide, make sure to complete the preliminary step below:
Troubleshooting Contact Form 7 + Insiteful tracking (Important Pre-Requisite)
By default, Contact Form 7 plugin hides the nameand id HTML attributes of a form on a published web page. However, Insiteful (and any other analytics platform, for that matter) will need at least one of these unique identifiers in order to track form submissions accurately.
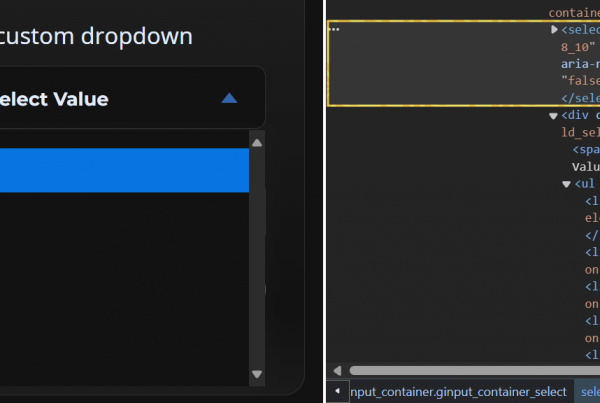
You can add any id and/or class attribute to a form created in Contact Form 7 by simply adding the “html_id” and “html_class attributes” into a [contact-form-7] shortcode, as seen below:
[contact-form-7 id="abc" title="Your contact form" html_id="contact-form-abc" html_class="form contact-form"]
Read more about how-to do this from the FAQ on the Contact Form 7 official website, here.
How to track Contact Form 7 forms with Insiteful
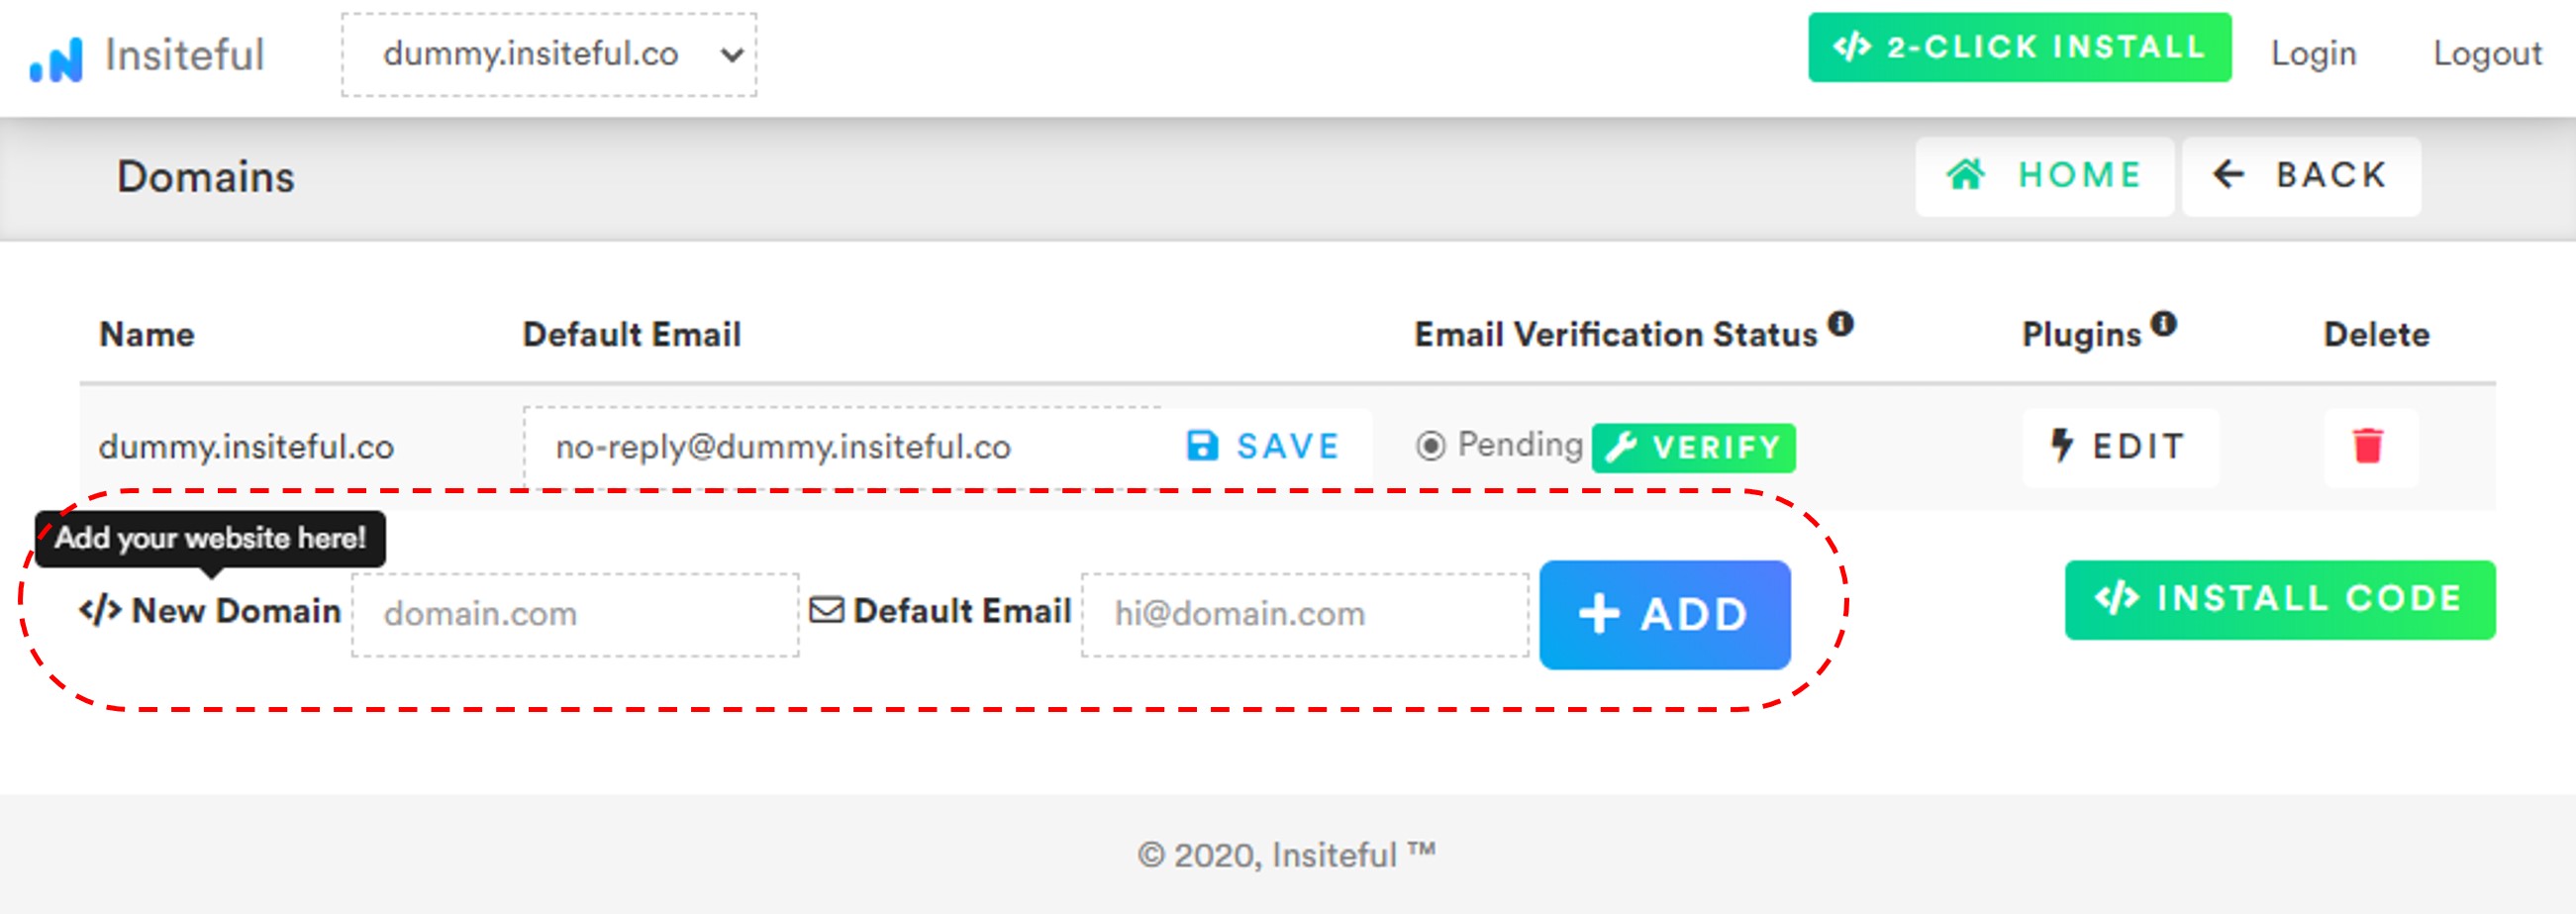
- Add your website: Just login to Insiteful & visit the Domains page and add your website where indicated in the screenshot below.
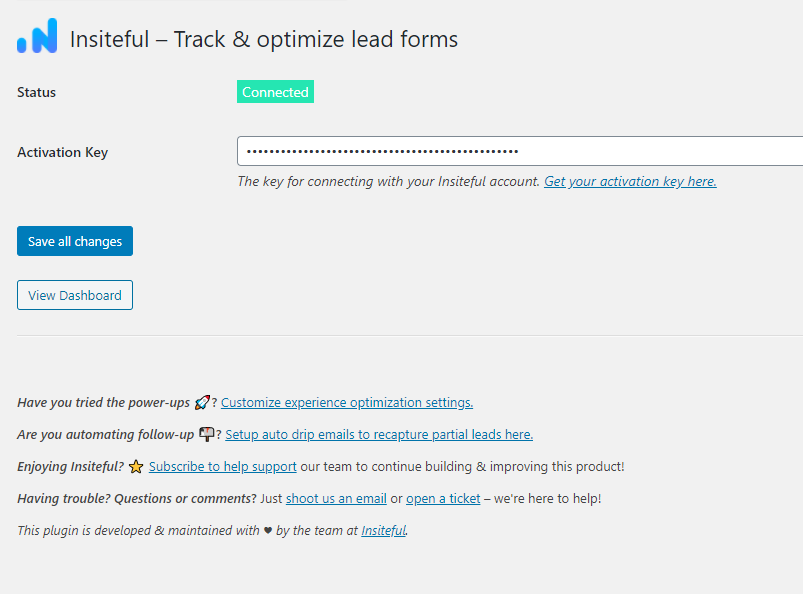
- Install code: Adding Insiteful to your WordPress website is as simple as installing the plugin by downloading here or searching “Insiteful” under Add Plugins. Once you’ve installed the Insiteful plugin for WordPress, simply follow the instructions on the Insiteful settings page (screenshot below): you’ll be asked to copy the activation key from the Install page to confirm your installation. That’s all there is to it!
Use Ninja Forms, Gravity Forms, Formidable Forms, Forminator or some other form builder? Insiteful is compatible with any form builder & website platform: click here to browse form tracking instructions for other platforms!