Insiteful can help you track form entries and more from virtually any web form in just a few clicks. Apart from helping you capture 100% of leads that fill out your forms, our plug-n-play solution also enables you to increase your conversion rate with power-ups (i.e. save & continue later), auto follow-up, and smart insights (i.e. confused / abandoned form fields).
To make it easier for you to manage & sync all your records, Insiteful offers multiple options to export leads & form entry data to your spreadsheets and/or CRM:
Option 1: The faster way – CSV Export
If you’re just looking to get a quick, ad-hoc export of leads (eg. for a Customer Remarketing file to upload to your ads, or a Contact List to import to your mail provider), it should only take the click of a button:
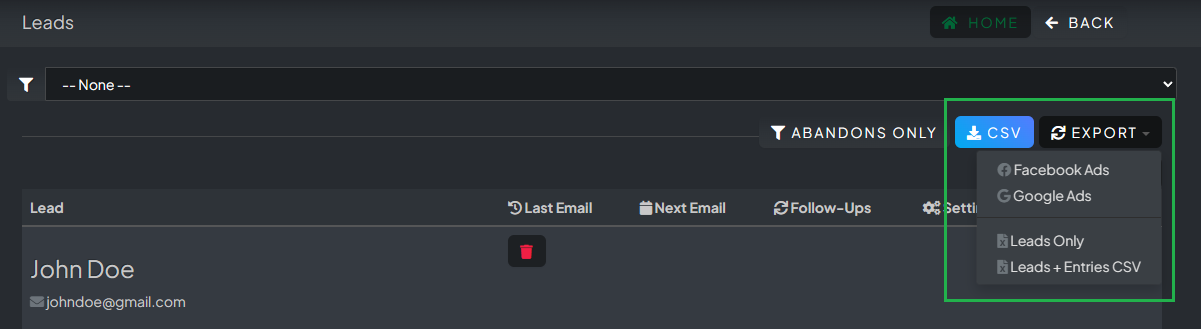
Simply login and visit the Leads page and click the “Export CSV” button (as seen above). You will be redirected to another page where you can download or copy the comma-separated values (CSV) for all your leads (see below):
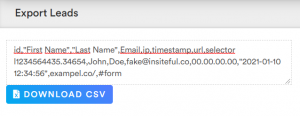
Exports are available in a few different formats:
Export leads from Insiteful
The fastest and simplest export is to click the “CSV” or “Export Leads” button on the Leads page. This will give you a CSV with the following columns:
| Column | Ex. Value |
|---|---|
| id | l1234567890.abcd |
| First Name | John |
| Last Name | Doe |
| [email protected] | |
| Phone | 1234567890 |
| IP | 0.0.0.0 |
| Timestamp | 1/1/2050 12:00AM |
| URL | https://example.com |
| Converted | 0 |
Export leads with form entries
If you want to include the form entries for each lead in the CSV export, simply click “Export > Leads + Entries CSV” and the export will include a column with the entries for each lead.
If you’d like to export a CSV with each form field as a separate column, you’ll want to use the “Filter by Form” dropdown at the very top of the Leads page and choose one form before clicking Export. You will receive a CSV that look something like this:
| Column | Ex. Value |
|---|---|
| id | l1234567890.abcd |
| First Name | John |
| Last Name | Doe |
| [email protected] | |
| Phone | 1234567890 |
| IP | 0.0.0.0 |
| Timestamp | 1/1/2050 12:00AM |
| URL | https://example.com |
| Converted | 0 |
| #first-name | John |
| [name=’message’] | I was wondering… |
| #another-field | … |
| … | … |
Since form fields differ between forms, the export would become messy if we did this for the CSV export across all forms – which is why we ask that you filter by form for this type of export.
Export leads for remarketing
Under the “Export” dropdown button on the leads page, you will also have the option to export a CSV in a format ready to be imported to remarketing audiences for retargeting on Facebook Ads or Google Ads in one click!
Export form entries as a list
Similarly, you can export a list of form entries by clicking the “Export CSV” button on the Form Fills page.
Export form entries as columns, grouped by IP
However, if you prefer an export with each form field as a separate column (grouped by visitor / IP address), you’ll want to use the “Filter by Form” dropdown at the very top of the Form Fills page and choose one form before clicking Export. You will receive a CSV that look something like this:
| Column | Ex. Value |
|---|---|
| IP Address | 0.0.0.0 |
| Timestamp | 1/1/2050 12:00AM |
| Form URL | yourwebsite.com |
| Form Selector | #contact |
| Form ID | f1234567890.abcd |
| __converted__ | 0 |
| #first-name | John |
| [name=’message’] | I was wondering… |
| #another-field | … |
| … | … |
Option 2: The better way – Zapier integration
- Add Insiteful to your Zapier account: When you start creating a Insiteful Zap, you will be asked to connect your Insiteful account.
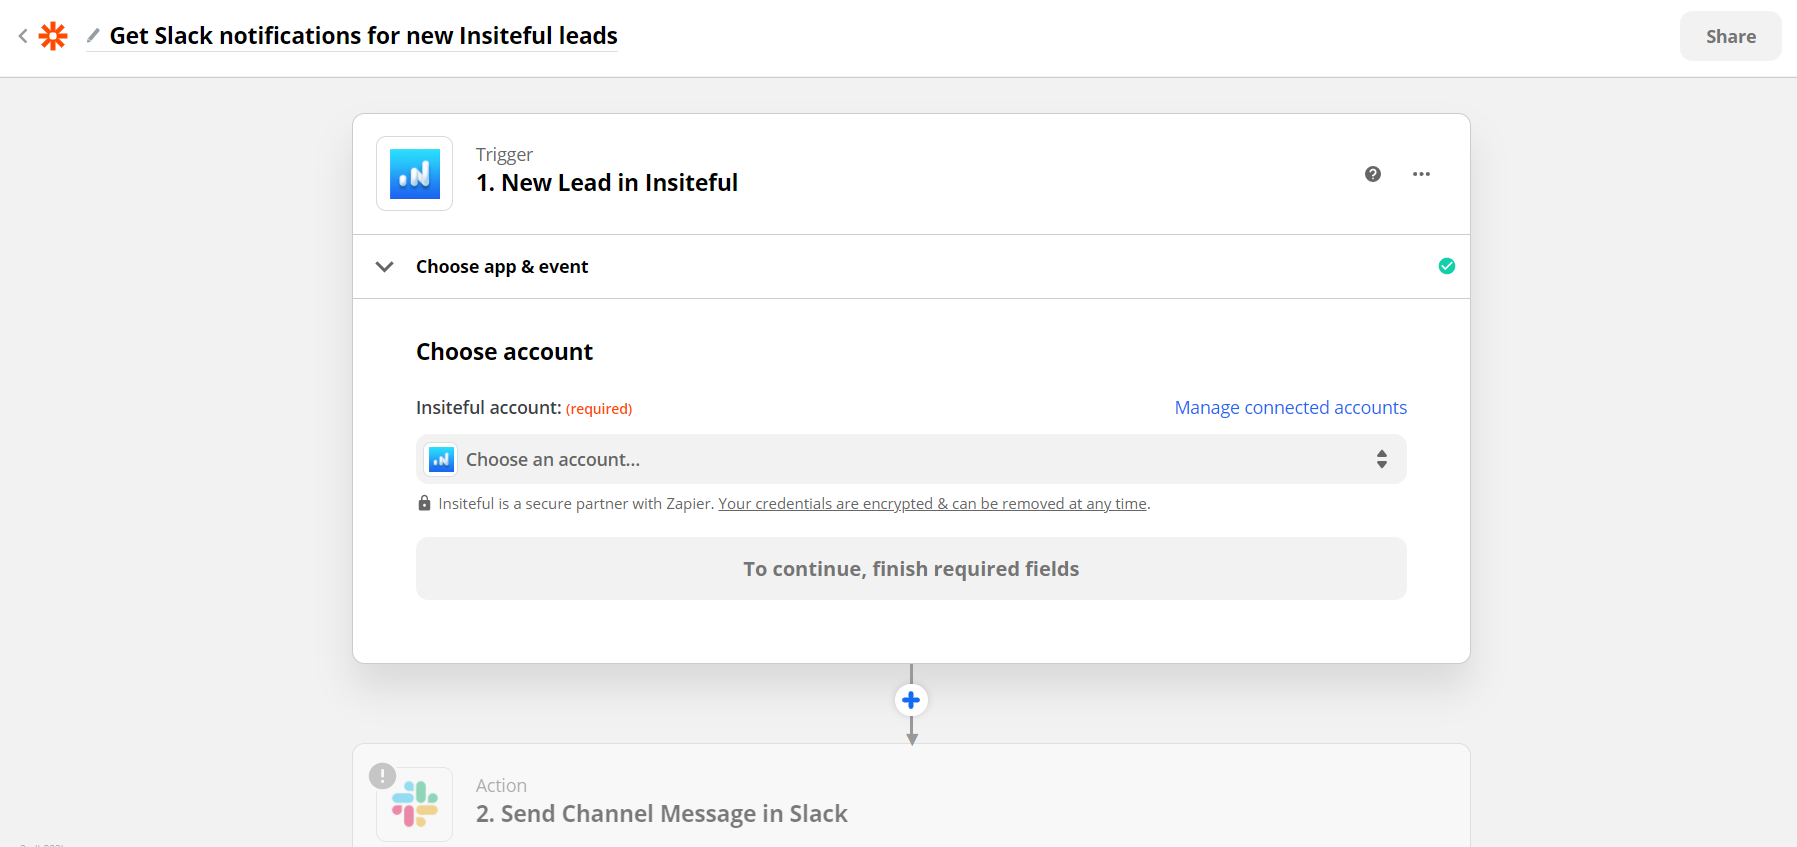 Next, you’ll be asked to enter your Insiteful API key. Locate your API key from your Insiteful account from the indicated link (as seen below).
 Paste your key back into your Zapier account and then “Continue.” If all steps were successful your Insiteful account will now be successfully connected with Zapier. Depending on which trigger you choose, you will be able to filter by various attributes (ie. domain)
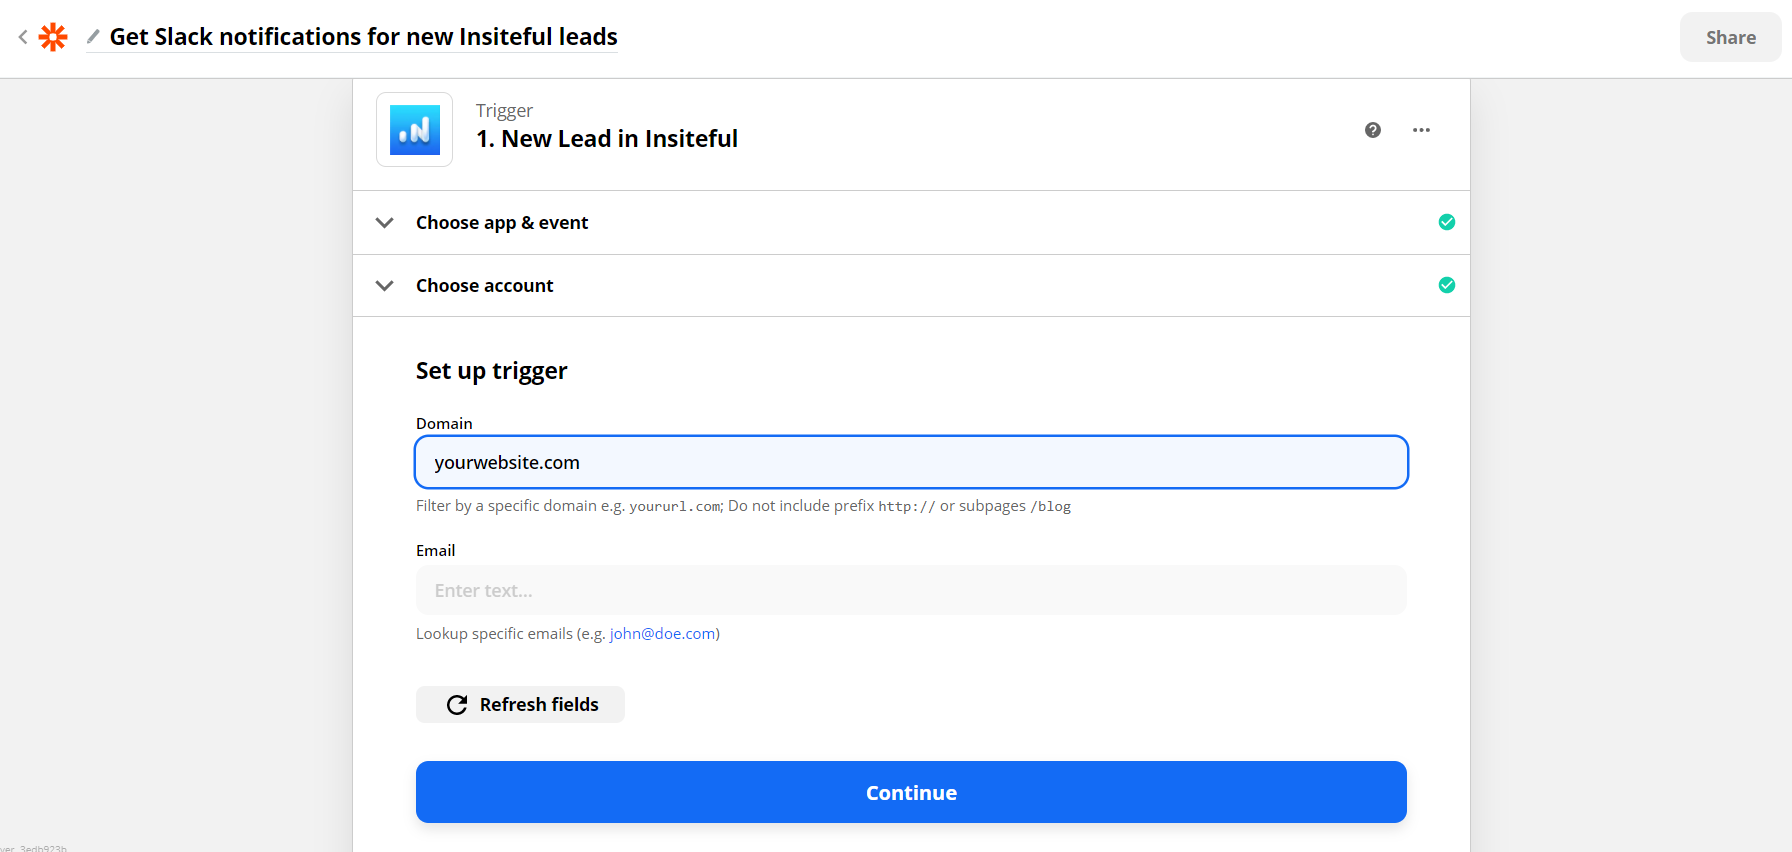
- Choose your integration & turn on your Zap: In the following step of your Zap (the “Action”) select Google Sheets, MS Office Excel, or your CRM/app of choice from the 3,000+ no-code integrations available via Zapier. If you use Google Sheets, just tap the button below to try this recipe in one-click!