Mailchimp makes it easy for anyone to create beautiful email marketing campaigns. Automating email campaigns to recover leads from partial entries doesn’t have to be difficult or require technical knowledge!
In just a few clicks, you can easily setup automatic follow-up drip email campaigns via Mailchimp to convert potential prospects that leaves your lead form(s) before clicking “submit” — along with all available data they entered before dropping off.
Insiteful can help you track and optimize from virtually any web form in just a few clicks. Apart from helping you capture 100% of leads that fill out your forms, our plug-n-play solution also enables you to increase your conversion rate with power-ups (i.e. save & continue later), auto follow-up, and smart insights (i.e. confused / abandoned form fields).
With Insiteful, you get a Second chance to convert leads™ from your web forms. In this tutorial, I’ll walk you through how to setup an automatic mail merge campaign and our Zapier recipe to sync & recover leads detected from partial entries via Mailchimp. In just a few clicks, you can sync partial entry data from your lead forms into Mailchimp using the official Insiteful integration via Zapier. Seal the leaks in your lead forms with Insiteful!
Before you get started with the how-to guide, make sure to complete the preliminary step below:
Creating your first Insiteful Zap (one-time)
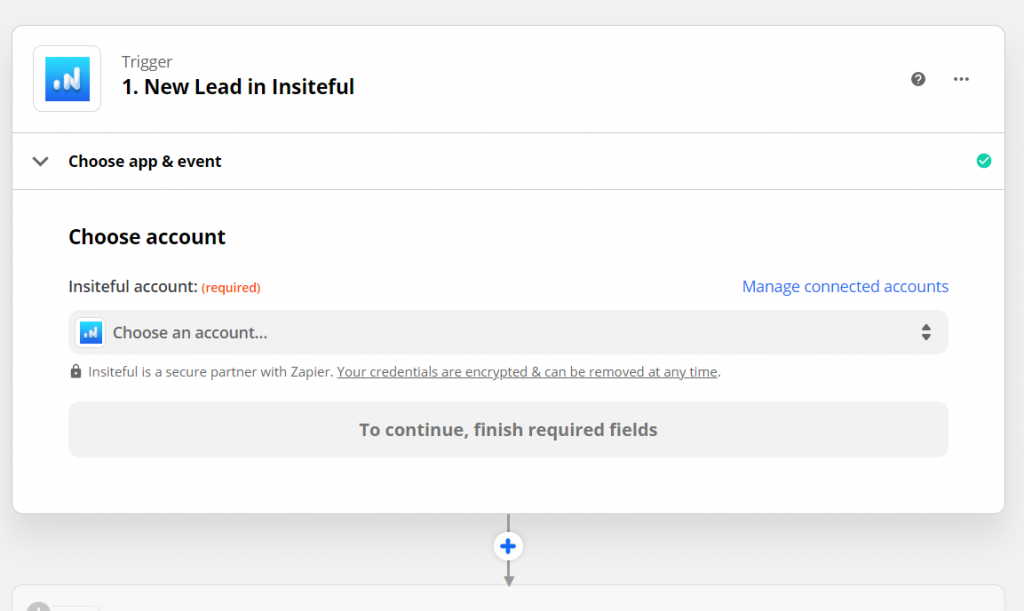
When you start creating a Insiteful Zap, you will be asked to connect your Insiteful account.
Next, you’ll be asked to enter your Insiteful API key. Locate your API key from your Insiteful account from the indicated link (as seen below).
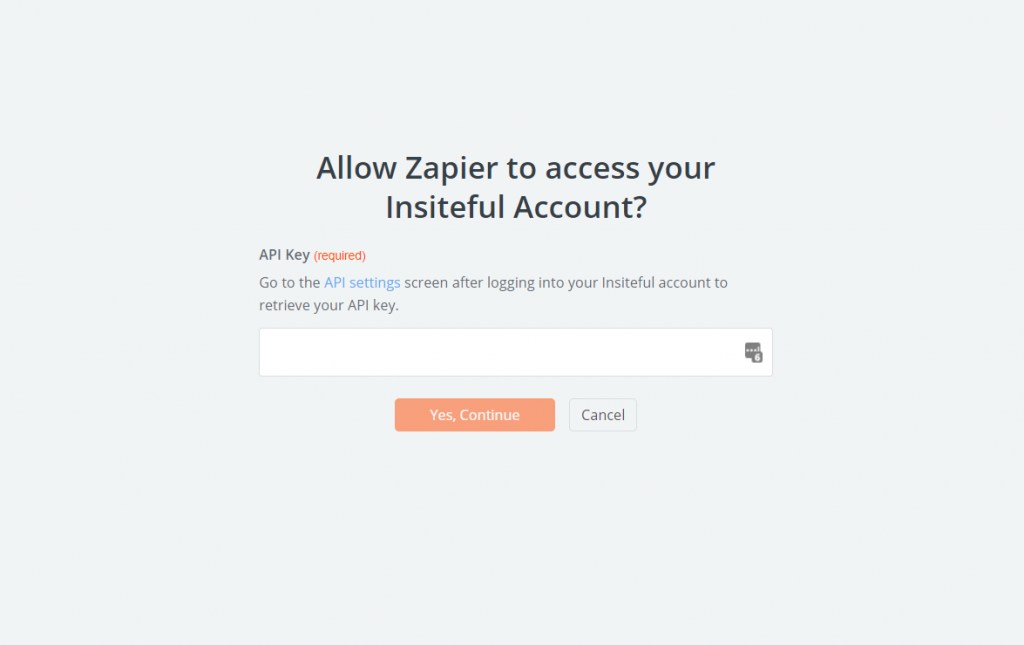
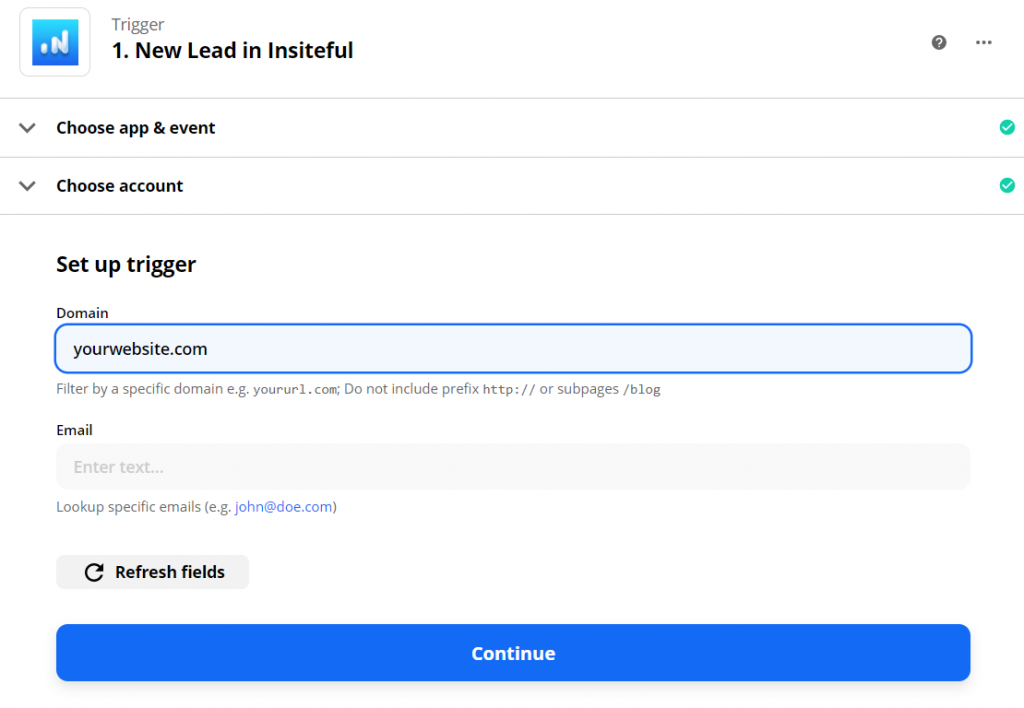
Paste your key back into your Zapier account and then “Continue.” If all steps were successful your Insiteful account will now be successfully connected with Zapier. Depending on which trigger you choose, you will be able to filter by various attributes (ie. domain)
How to auto follow-up with recovered leads via Mailchimp
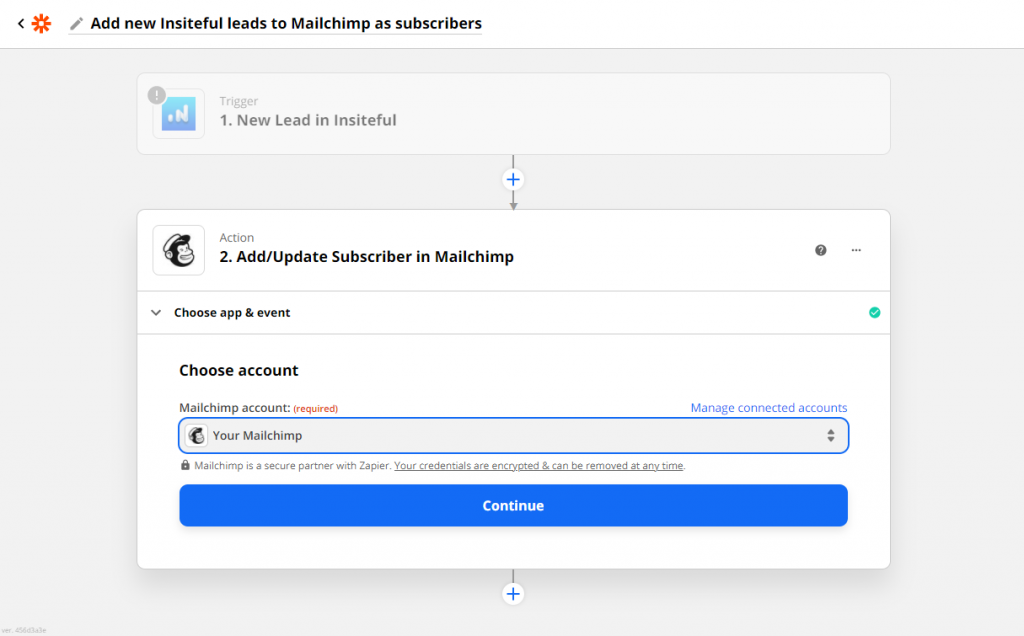
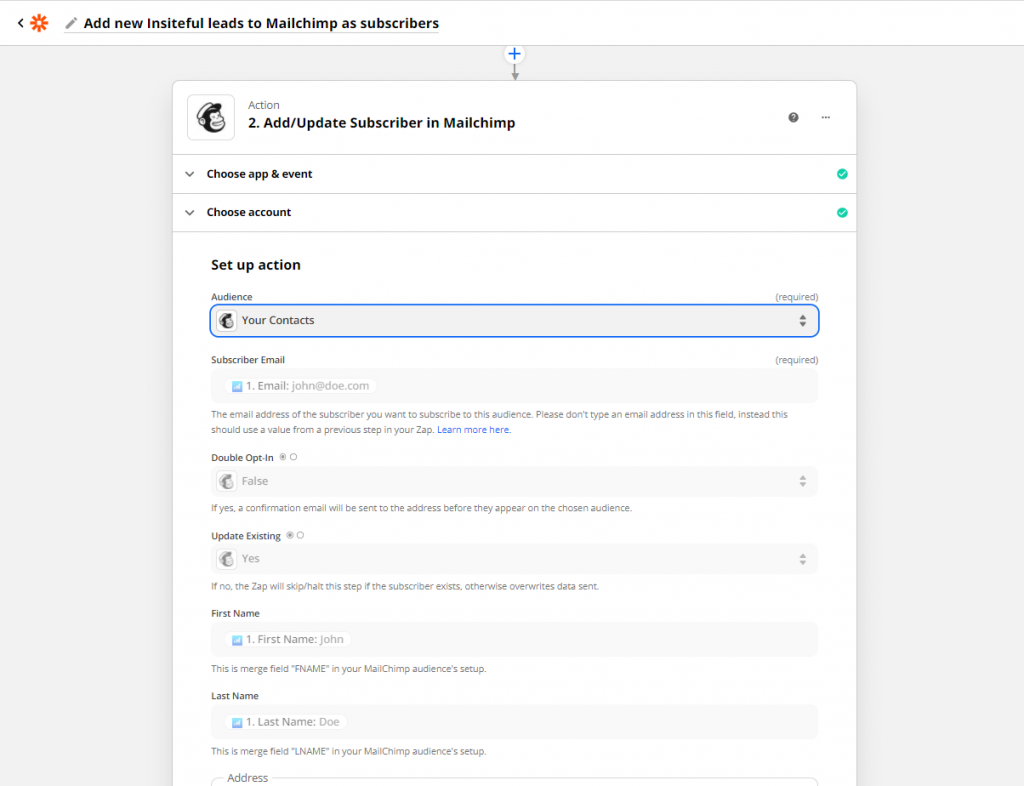
- Add Mailchimp action to your Zap: In the next step in this Zap, search for “Mailchimp”. Then select “Add/Update Subscriber” as the Action Event. Click “Continue”. Connect your Mailchimp account, choose the Mailchimp audience that you want to send these recovered leads to. You can customize the fields to include whatever data you need. In the example below (based on the one-click Zapier template), we included the key contact information for the lead.
- Test & save: Click “Test & Review” and it should show that the test was successful. Head over to your Mailchimp account to confirm the lead was synced. Voila; there you have it!
Having trouble with the steps above? Setup your integration in one-click with the template below:
Use ActiveCampaign, not Mailchimp? Click here to read the instructions for how to setup missed opportunity alerts in ActiveCampaign — it’s just as easy!
